Microfoam Fundamentals: What Great Foam Looks and Feels Like
The single most important variable in latte art is not your pouring technique — it is the quality of your foam. A perfectly executed rosetta pour will collapse into a muddy blob if the milk has been steamed into a loose, bubbly froth, and even a clumsy pour can produce recognizable patterns when the foam has been woven into a dense, glossy microfoam. Understanding what great foam looks and feels like, before you ever tilt a pitcher toward espresso, is the foundation on which every other skill is built.
Defining Microfoam
Microfoam is steamed milk in which the incorporated air has been broken down into bubbles so small — typically under 0.5 millimeters in diameter — that they are invisible to the naked eye. The result is not a layer of froth sitting atop a pool of hot milk, but a single, unified liquid with a texture closer to wet paint than to anything resembling the stiff, dry foam found on a traditional cappuccino. The word “micro” does the heavy lifting here: what matters is not the amount of air, but the size of each individual bubble and the uniformity of their distribution throughout the milk.
When microfoam is poured from the pitcher, it should flow in a slow, continuous ribbon. It should not splatter, clump, or separate into visibly distinct layers of foam and liquid. The grain of properly textured milk is so fine that the surface catches light with a faint sheen, almost like melted white chocolate pooling across a countertop. This visual glossiness is the single most reliable indicator of quality before the milk ever reaches the cup.
What Great Foam Looks Like
There are a few reliable visual and tactile benchmarks to assess your microfoam, and learning to read them will save you from pouring art into foam that was never capable of holding a pattern.
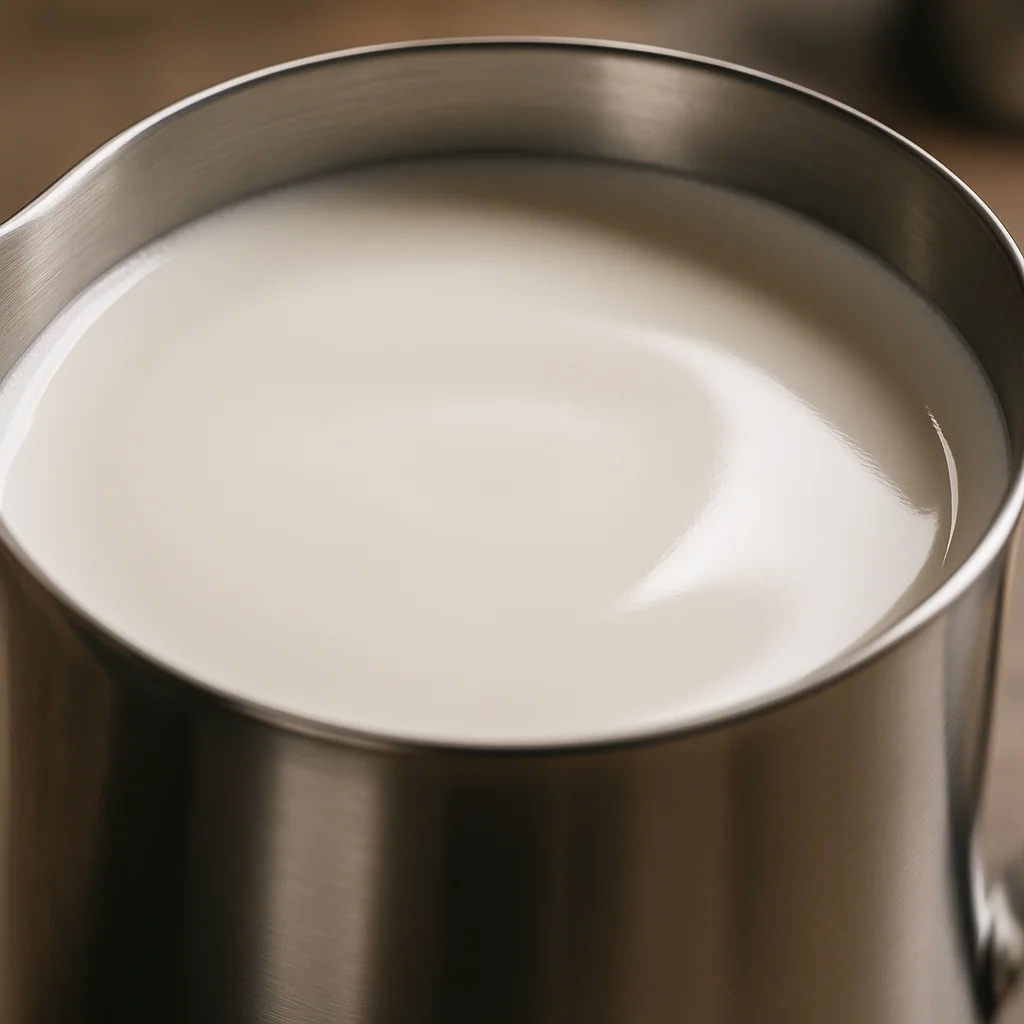
In the pitcher: After steaming, swirl the milk gently. The surface should look like wet white paint — thick enough to coat the sides of the pitcher in a thin, even film, but fluid enough to settle back into a smooth, unmarked pool within a second or two. If you see any bubbles on the surface, even small ones, the foam is too coarse. A firm tap of the pitcher on the counter and a few seconds of swirling will sometimes rescue borderline foam by popping larger bubbles and reintegrating the texture, but this is a corrective measure, not a substitute for proper steaming technique.
In the cup: Microfoam poured into espresso creates crisp, high-contrast lines. The white of the milk sits distinctly against the brown of the crema, with clean edges rather than feathered or blurred boundaries. A well-textured pour also holds its pattern as the drink sits — the design should remain legible for at least thirty seconds, and often far longer, before the foam begins to decay and the contrast fades.
By feel: Experienced baristas often assess foam by weight and resistance. A pitcher of properly steamed milk feels heavier and denser than you might expect, because the air has been so thoroughly integrated that the milk resists sloshing. When you swirl it, there is a slight viscous drag, a sense of the milk moving as a single cohesive body rather than as separate layers of liquid and froth.
Why Texture Matters More Than Volume
A common early mistake is equating foam quality with foam quantity — stretching the milk until the pitcher is full of airy volume. The reality is the opposite. Great microfoam requires restraint. For a standard latte, the milk needs only a modest increase in volume — roughly 25 to 40 percent — during the stretching phase. The remainder of the steaming time is spent polishing: using the steam wand’s vortex to fold and compress the incorporated air into ever-smaller, more uniformly distributed bubbles. The full mechanics of stretching and polishing are covered in detail in the steaming technique guide, and the underlying behavior of milk proteins that stabilize those tiny bubbles is explored in the milk chemistry reference.
Building From Here
Microfoam is not a single fixed target but a spectrum of textures, each suited to different drinks and different art styles. What matters is developing the eye and the hand to recognize where your foam falls on that spectrum and to steer it deliberately. If your foam consistently falls short of the benchmarks described above, the troubleshooting guide walks through the most common causes, and the physics of foam reference explains the structural reasons why bubbles behave the way they do. Master the milk first, and the art will follow.